
Photography fundamentals
A better product image starts with a better reference
A practical guide to sharp labels, clear silhouettes and useful reference lighting before you create an AI product scene.
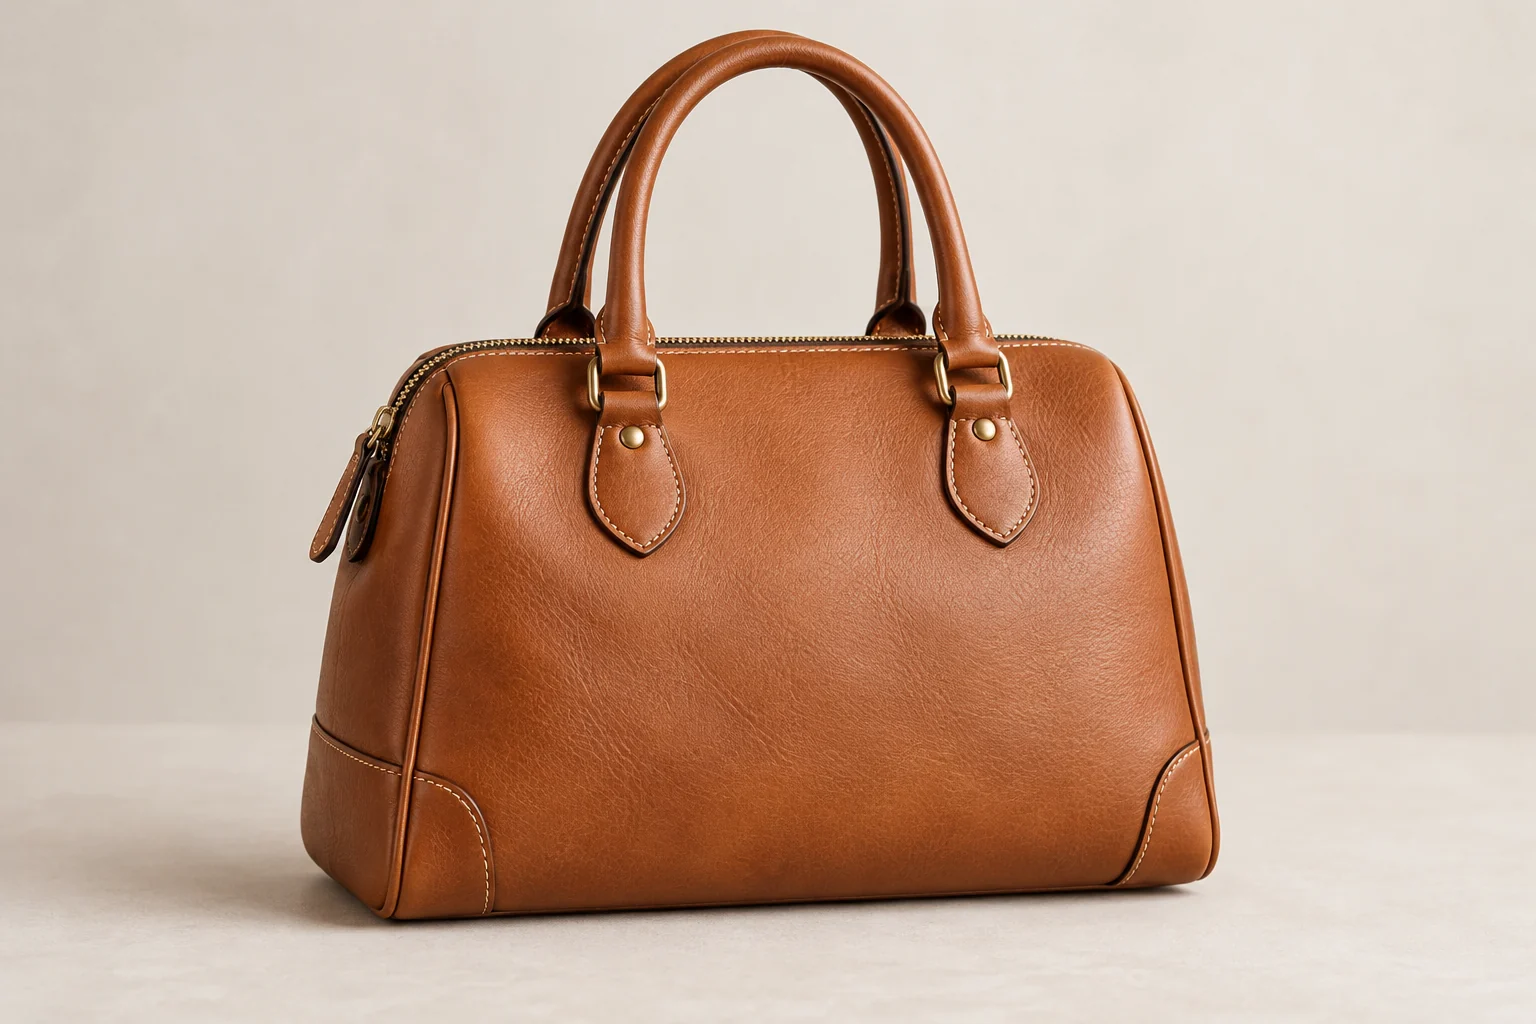
A compelling scene starts before you choose its background. A useful reference photograph gives the editing workflow a clear view of the product: its shape, materials, color and the details a customer needs to recognize. A dramatic setting cannot rescue a blurred label.
Make the product easy to read
Photograph the complete product, including its base, lid, handles and any parts that belong in the final image. Leave breathing room around the silhouette. Avoid cutting off a cap or placing a decorative leaf across the packaging; the editing system cannot reliably recover details it never sees.
Check the photograph at full size before uploading. The brand name, variant, quantity and important small print should be as clear as your camera allows. Clean the lens, stabilize the camera and focus on the product rather than the background. If the label is soft, taking another photograph is usually more useful than requesting another generated scene.
Start with simple, controlled light
A window with indirect daylight can be a useful starting point. Turn off nearby lamps with visibly different color temperatures, and move the product until its main surfaces are readable. A white card opposite the window can soften an overly dark side. Avoid direct glare that hides lettering or turns a glossy bottle into a large white reflection.
Choose a camera angle that shows the product honestly. Keep the viewpoint consistent when photographing a collection. Reflections, texture and curved packaging deserve attention: a smooth surface may hide its shape without a visible highlight, while transparent glass may reveal the original background through it.
Choose the right editing approach
A creative edit can reinterpret the product as well as its environment. Product preservation uses an isolated reference layer to keep the visible product more closely tied to your source. Neither approach removes the need for inspection. Automatic background removal can leave fragments, soften fine parts or misread openings inside a handle.
For glass, mesh, fine chains or translucent packaging, inspect the cutout particularly carefully. If an important edge disappears, use a corrected transparent cutout or return to the reference photograph. Do not approve an image simply because the background looks attractive.
A quick pre-upload check
- The complete product is visible with space around it.
- Labels and distinctive components are sharp.
- The main light direction is easy to understand.
- No unrelated object covers the silhouette.
- The photograph belongs to you, or you have permission to use it.
Ready to test your reference? Open the Studio, then compare every finished image with the original. The Studio guide explains the upload and review workflow.
Continue reading
All Insights ↗
Art direction
Choose a background that lets your product lead
Use contrast, texture and scale to choose a setting that supports your product instead of competing with it.

Styling & composition
Style with props, without losing the product
A practical approach to supporting objects, negative space and believable scale in product photography.