
Jewelry & detail
Jewelry photography backgrounds that show the details
Choose jewelry photography backgrounds that reveal edges, metal finish and small details. Plan clear views and review AI scenes carefully.
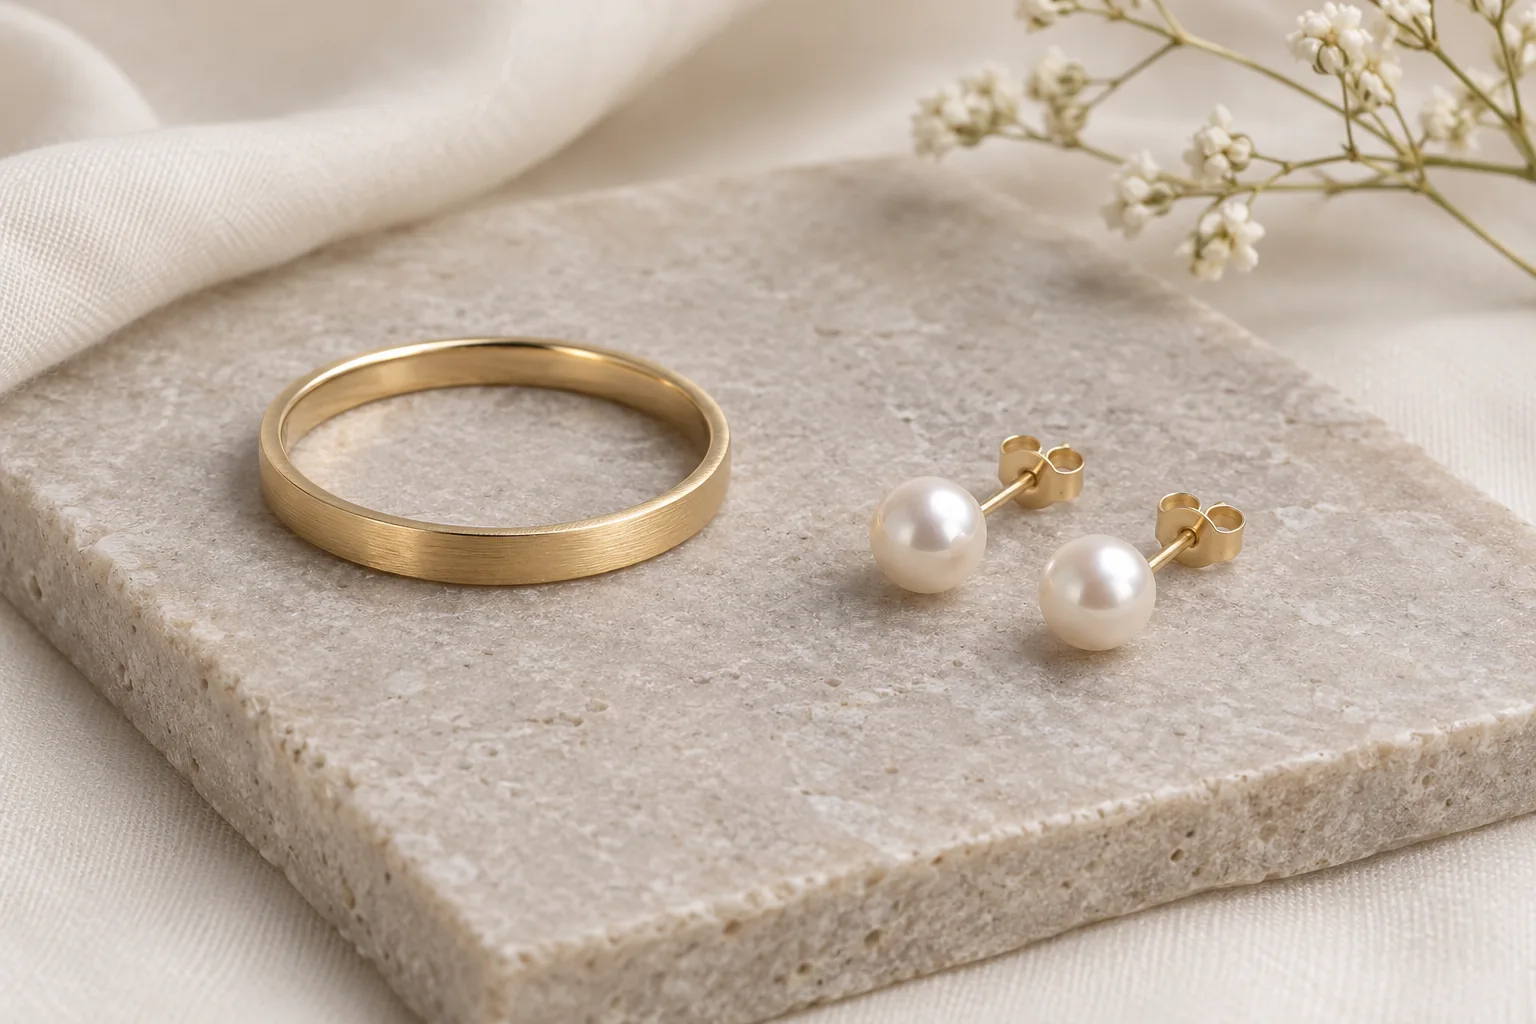
A jewelry background should make a small object easier to understand. It can separate a silver edge from the page, show the warmth of a metal finish or give a collection a recognisable mood. It should not make the piece look larger, more elaborate or more valuable than it is.
Start with a clear product view, then add a styled scene if it contributes something useful. A ring on stone may make an attractive campaign picture; it does not tell a customer its band width or ring size.
Choose contrast before texture
Put the actual piece on two or three plain backgrounds and compare its edges. Pale silver can disappear into bright white. A slightly darker neutral surface may define it more clearly. Yellow metal may suit a pale grey background better than a strongly yellow one.
Keep the background texture quieter than the smallest detail you need to show. A rough surface can compete with a fine chain or delicate setting. If the piece is already highly detailed, try a smooth surface before adding fabric folds or decorative stone.
Control highlights without removing the finish
Use soft, diffused light as a starting point. Look for blown-out highlights that hide the edge of a band or turn a clasp into a white patch. Move the light or rotate the object a little, then check again at full size.
Leave enough variation to describe the surface. Making every reflection disappear can make polished metal look flat. Photograph the finish as it is, including brushed areas, engraving or natural texture. A background change should not silently turn a brushed band into a mirror finish.
For more on controlling glare, see our reflective product photography guide.
Plan the views a shopper will ask for
Take a separate photograph for each important construction detail. Depending on the piece, that might mean the front, side profile, fastening, earring post or reverse of a pendant. Arrange a chain carefully so its shape is understandable without hiding its clasp.
Show measurements separately and accurately. If you use a ruler, keep the scale legible and photograph it with the real item. A generated hand, coin or display stand is not reliable evidence of size. Do not infer gemstone identity, metal purity or weight from an edited photograph.
- Overall view with the whole piece visible.
- Close-up of the setting, surface or decorative detail.
- Fastening or attachment view where relevant.
- Genuine scale or measurement image.
- Clear explanation of what is included in the purchase.
Review AI backgrounds for small changes
Jewelry is unforgiving because tiny changes matter. Count stones and visible links, compare the setting and check that an earring has not gained a different back. Look closely at symmetrical pairs. A pleasing overall impression can hide mismatched details.
Use a reference in which those details are already visible. If the chain is tangled or the fastening is hidden, retake the photograph. Creative generation may redraw the product, so keep an unedited, accurate product view available and reject a scene that changes the item.
For a repeatable first attempt, keep the camera angle familiar and choose a restrained scene. Review the scene, format and adjustments before generating. Save the reference and the result together so you can make the comparison again later.
Keep the collection visually related
Repeat the background family and light direction across the range. Consistent spacing helps customers compare pieces without confusing a tighter crop with a larger product. Avoid filling every frame differently just to make each image dramatic.
Our background selection guide helps narrow the setting. When you are ready, open Studio and finish with a detail-by-detail review.
Continue reading
All Insights ↗
Leather goods & Studio workflow
AI handbag photography: a practical Studio workflow
Follow a documented BestImage handbag workflow, from an AI-created reference to a daylight scene, with saved settings and practical review checks.
Beauty & packaging
Skincare product photography: labels, colour and light
Photograph skincare packaging with clearer labels, controlled reflections and consistent colour. Check the details before publishing AI-edited images.