
Catalog planning
A simple product photo shot list for your online store
Plan product views that answer buying questions. Use this simple shot list to cover overall views, details, included items and useful context.
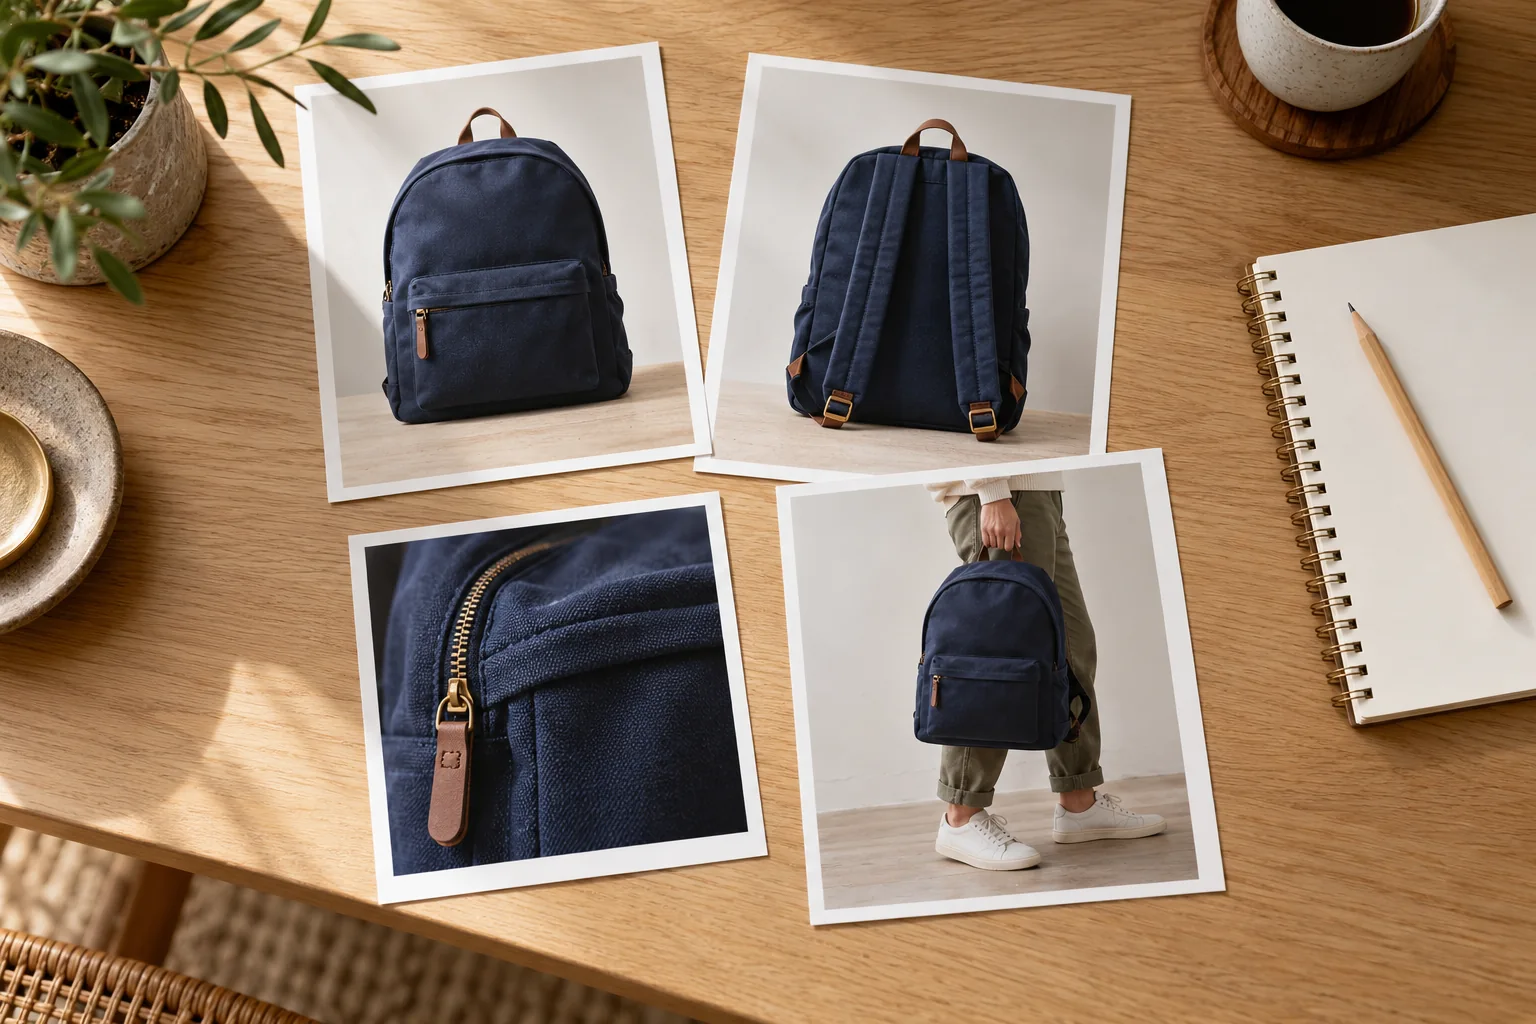
It is easy to finish a photo session with twenty attractive pictures and still miss the one detail a shopper wants to see. A short product photo shot list keeps the work focused. Instead of collecting more images, plan the views that answer the questions someone might ask before buying.
You can write the list on paper. Start with one product and use the same structure for similar items in your catalog.
Turn buying questions into photographs
Think about what a customer cannot judge from the main image. For a handbag, that might be its closure, interior and strap attachment. For a lamp, it could be the switch, finish and base. For skincare packaging, it may be the readable label and the actual contents of the set.
A photograph is useful when it answers a specific question. If two images show almost the same thing, you may not need both. Keep product dimensions, ingredients and other important facts in readable listing text as well; an image should support that information rather than make shoppers hunt for it.
Build a practical five-part shot list
- Overall view: show the complete product with a clear outline.
- Another useful angle: reveal a side or feature the first view cannot show.
- Detail: show a material, fastening, label or other important feature.
- What is included: make the contents of the purchase unambiguous.
- Context: add a setting when it helps explain use or supports a campaign.
This is a starting point, not a requirement to publish exactly five images. A simple item may need fewer views. A complex product may need more. Review your destination’s current image requirements and the questions customers actually ask.
Photograph facts that should not be invented
Capture real photographs of the back, inside and any hidden components you want to show. Do not treat a newly generated angle as evidence of what an unseen part looks like. If the reference only shows the front of a bottle, an AI image of its back cannot verify the rear label.
BestImage can help you explore backgrounds and creative direction around a reference. Use an appropriate real photograph for each factual product view, then inspect the edited result. Keep measurements and included accessories tied to information you have checked.
Before creating a whole collection, try the process on one representative product. Note which images are useful, which need corrections and which questions remain unanswered. That small trial can reveal a missing reference before you spend time editing the full catalog.
Keep the set easy to hand over
Name the files with your product or SKU and the view, such as canvas-tote-front or canvas-tote-zip-detail. Save references separately from approved outputs. In your project notes, record the intended use so a campaign experiment is not confused with an approved listing image.
Can one photograph cover the whole listing? Sometimes a simple product needs only a few clear images, but one front view cannot answer questions about hidden features. Add the real views that help a shopper understand the purchase.
Use our guide to building a consistent catalog to plan the wider collection. When your references are ready, start a Studio project and follow the review and delivery steps.
Continue reading
All Insights ↗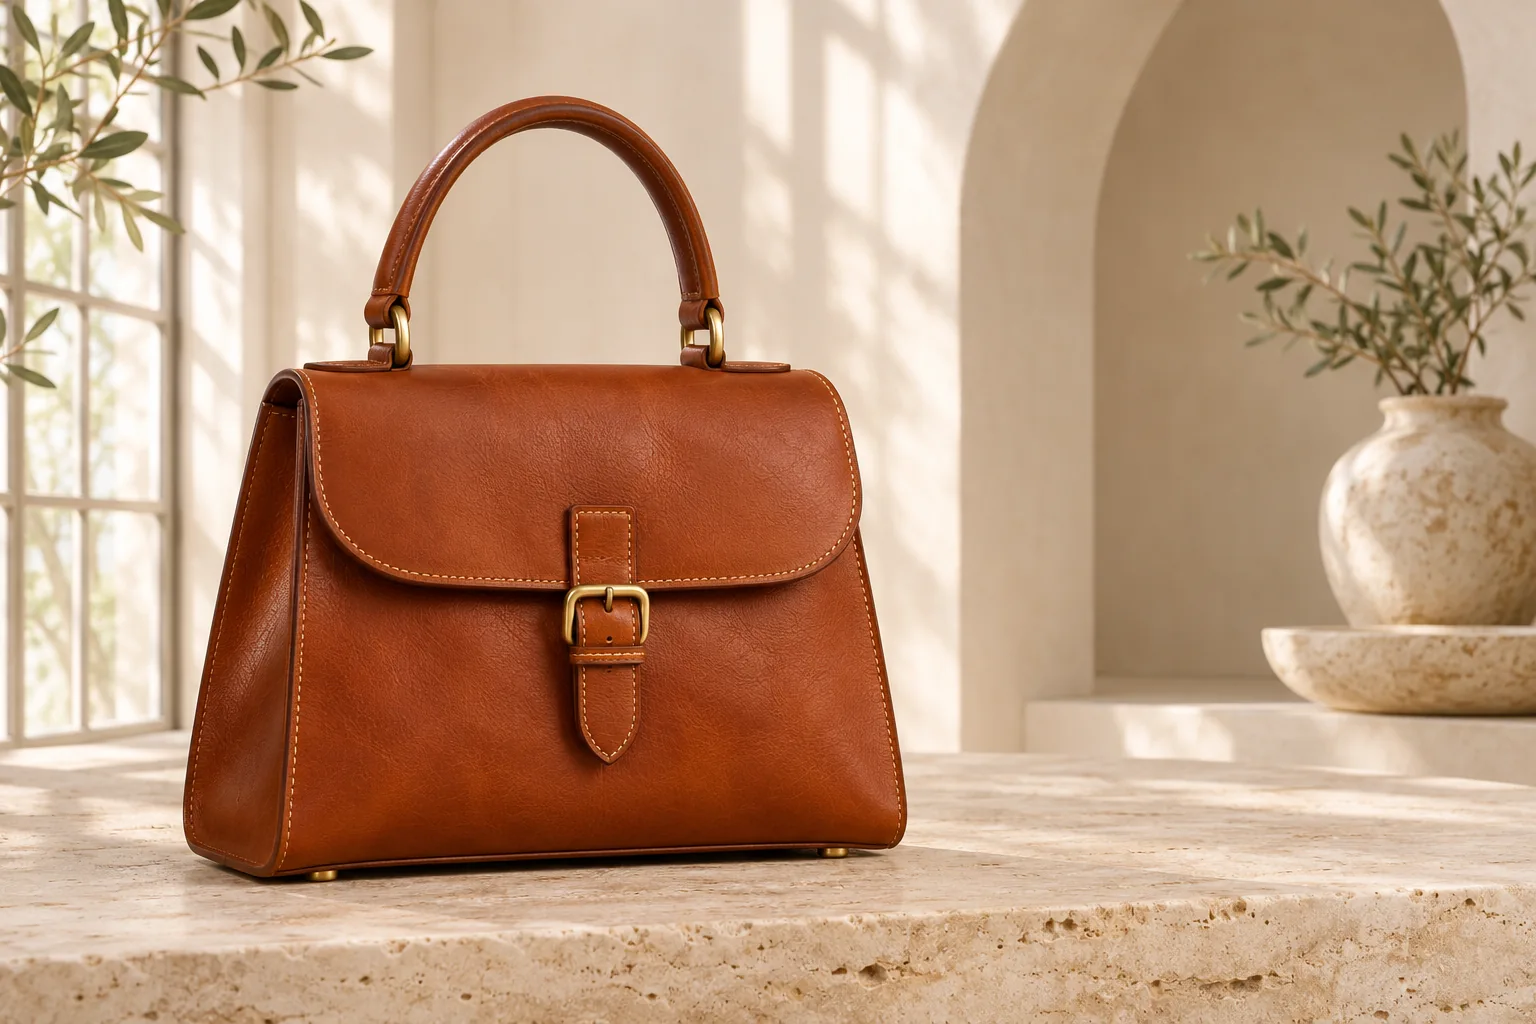
Leather goods & Studio workflow
AI handbag photography: a practical Studio workflow
Follow a documented BestImage handbag workflow, from an AI-created reference to a daylight scene, with saved settings and practical review checks.
Beauty & packaging
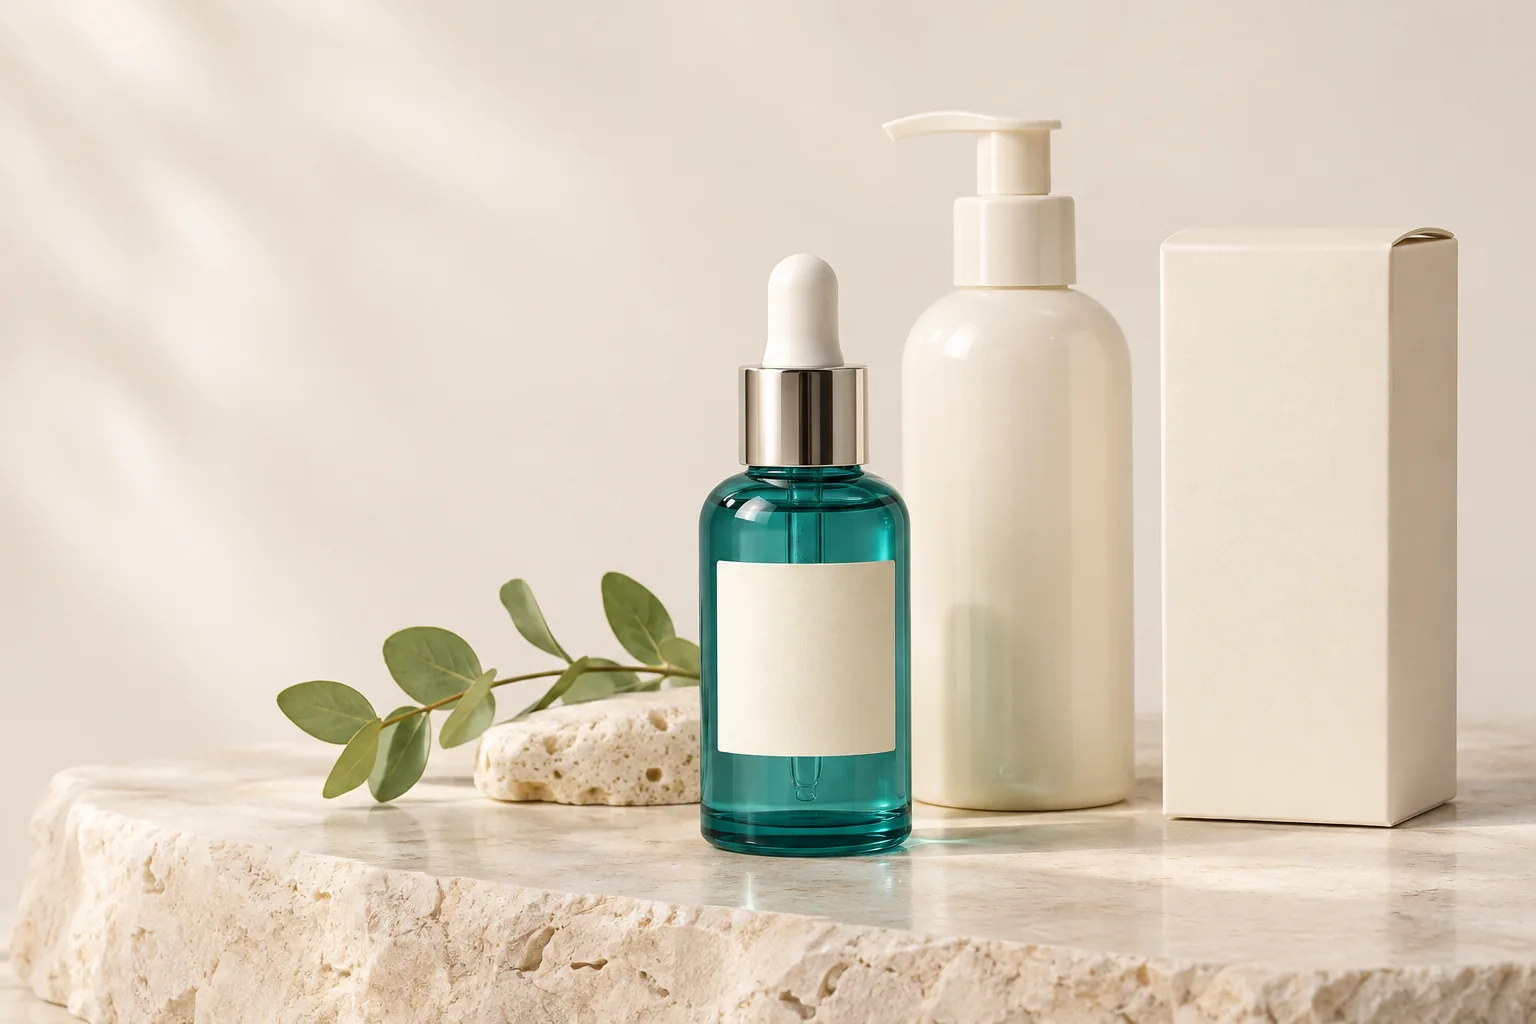
Skincare product photography: labels, colour and light
Photograph skincare packaging with clearer labels, controlled reflections and consistent colour. Check the details before publishing AI-edited images.