
Phone photography
How to take product photos with your phone
Take clearer product photos with your phone using simple window light, steady framing and a practical reference-photo checklist.
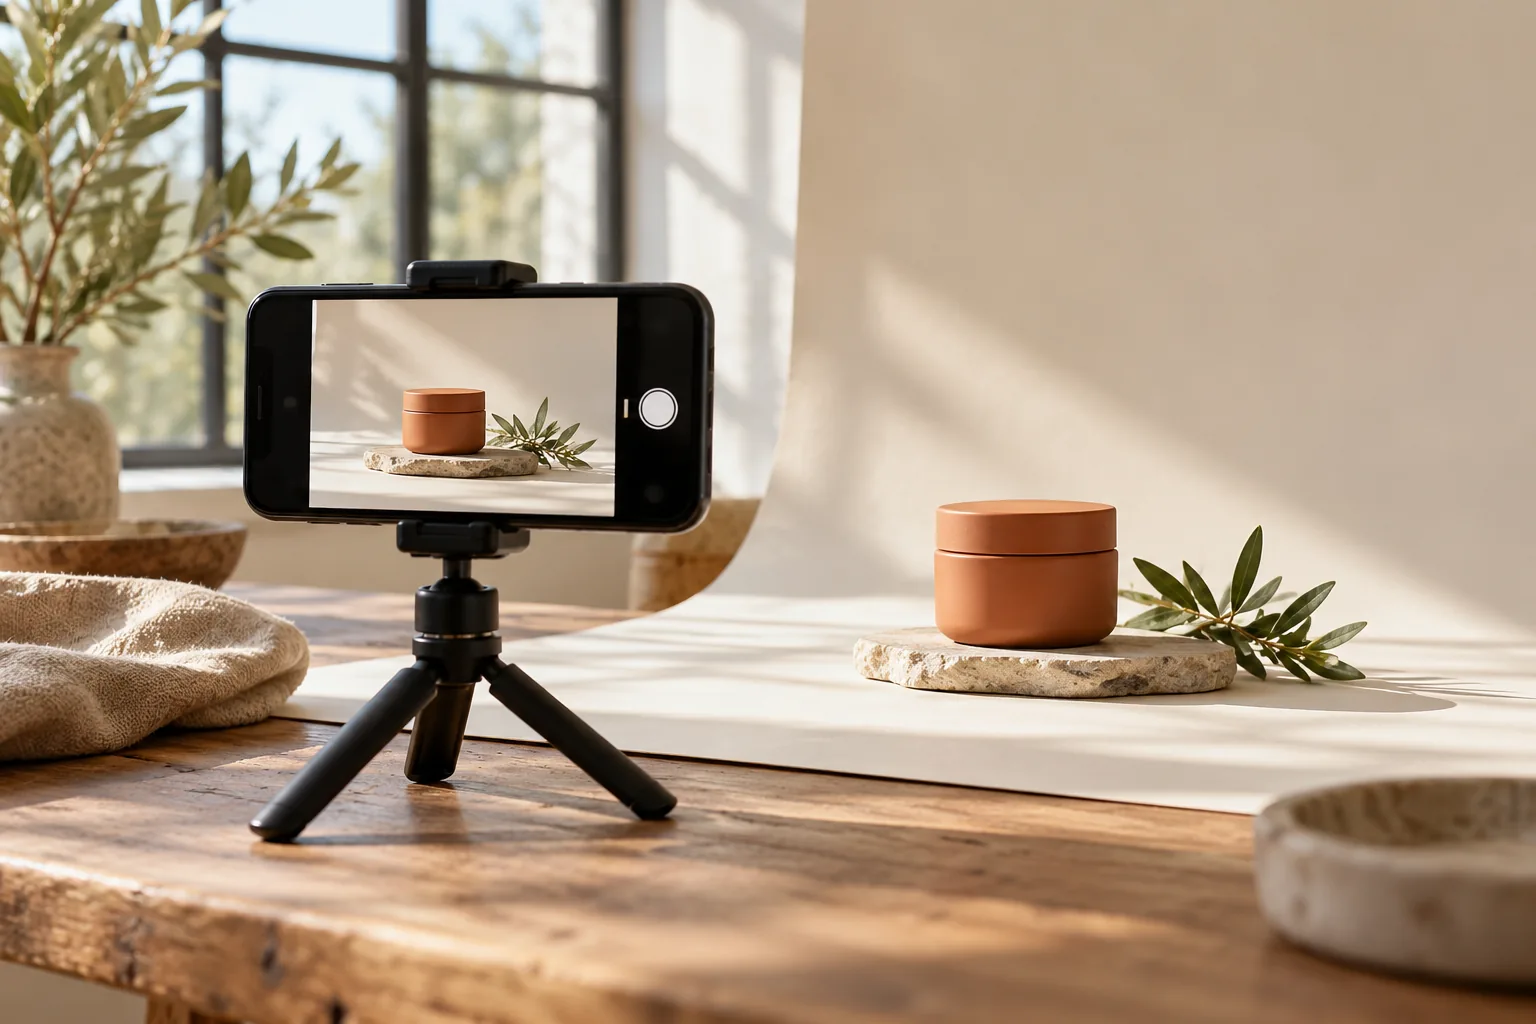
You do not need a dedicated camera to take a useful product reference photo. A phone, a steady surface and a little care with the light can give you a much stronger starting point than a hurried picture under a ceiling lamp. The aim is simple: show what you are selling clearly enough that a customer could recognise it.
Try this small setup before buying extra equipment. It works well as a starting point for bags, boxes, shoes and many other everyday products, although reflective or transparent materials may need more attention.
Build a small window-light setup
Place the product on a stable table near a window with soft, indirect daylight. If direct sun is creating harsh patches, move the table or wait for gentler light. Switch off nearby lamps if they give the product a different colour from the daylight.
Choose a plain background that separates the product from its surroundings. A pale item may need a slightly darker backdrop. Remove distracting packaging, cables and props, but keep anything that is genuinely included with the product. A piece of white card beside the darker side can reflect some light back without another lamp.
Keep the phone steady and the product sharp
Clean the lens, then use the main rear camera as a starting point. Move the phone to frame the product rather than relying on heavy digital zoom. If the object looks stretched near the edge of the frame, move back and keep it nearer the centre.
Rest your elbows, support the phone or use a small tripod. Tap the product to set focus and check the brightness before taking the picture. A timer can help if pressing the shutter moves the phone. Start with the normal photo mode; portrait blur can make handles, fine edges or transparent areas harder to review.
Keep the complete object visible, with space around its edges. Do not crop off a strap, lid or base just to fill the frame. Take a second shot if a reflection hides the label. Changing the camera angle slightly is often more useful than adding a filter.
Inspect the photograph before editing
Open the image at full size. Can you read the important lettering? Does the colour resemble the actual product? Are stitching, closures and narrow parts sharp enough to inspect? Compare the image with the item beside you, not with a remembered version of its colour.
- Check that the product is clean and correctly assembled.
- Look for motion blur, clipped edges and distracting reflections.
- Retake a soft label rather than expecting AI to reconstruct it accurately.
- Keep the original file before making a smaller upload copy.
For BestImage, upload a JPEG, PNG or WebP within the displayed 10 MB and 16 megapixel limits. If your phone produces a larger file or another format, export a supported smaller copy and inspect it again. Avoid repeatedly sending the image through messaging apps, which may reduce detail.
Bring the reference into the Studio
Choose the intended use before generating: a straightforward product image or a more expressive scene. Then review the scene and adjustment options. A good reference gives you a clearer basis for judging the result, but no reference removes the need to compare product details after AI editing.
Can a phone photo be enough? Yes, when it shows the complete product clearly and suits the intended output. For tiny lettering or complex reflective surfaces, you may need a more controlled setup or professional photography.
Read our guide to stronger product reference photos, or open the Studio with one photograph you have checked. The Studio guide explains the next steps.
Continue reading
All Insights ↗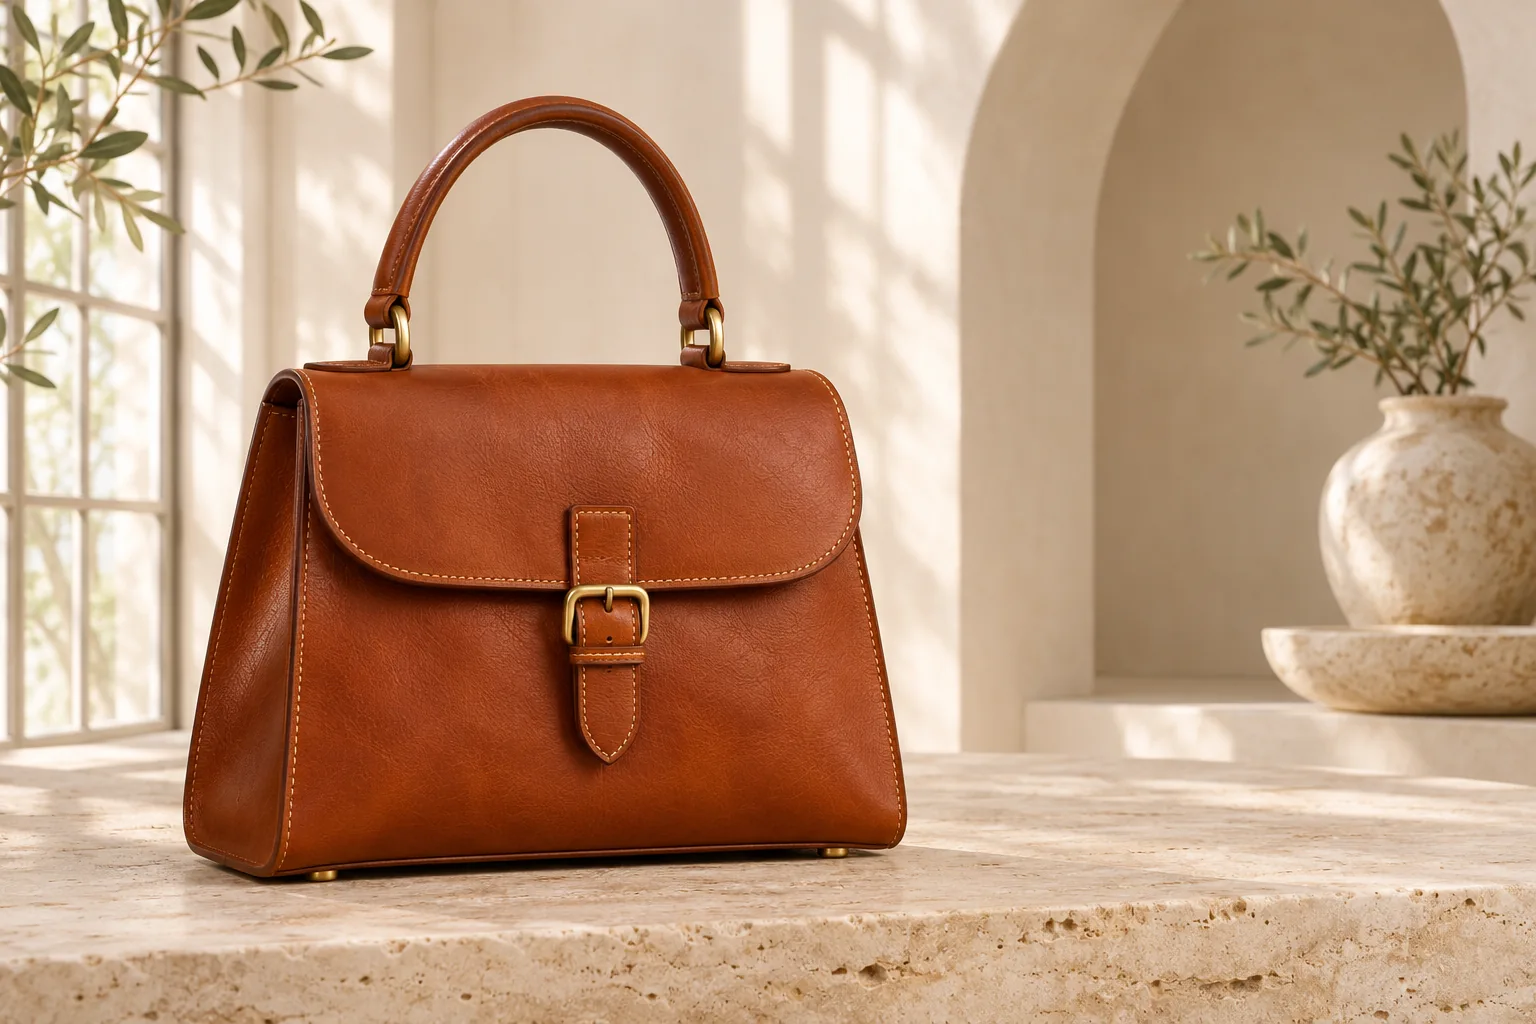
Leather goods & Studio workflow
AI handbag photography: a practical Studio workflow
Follow a documented BestImage handbag workflow, from an AI-created reference to a daylight scene, with saved settings and practical review checks.
Beauty & packaging
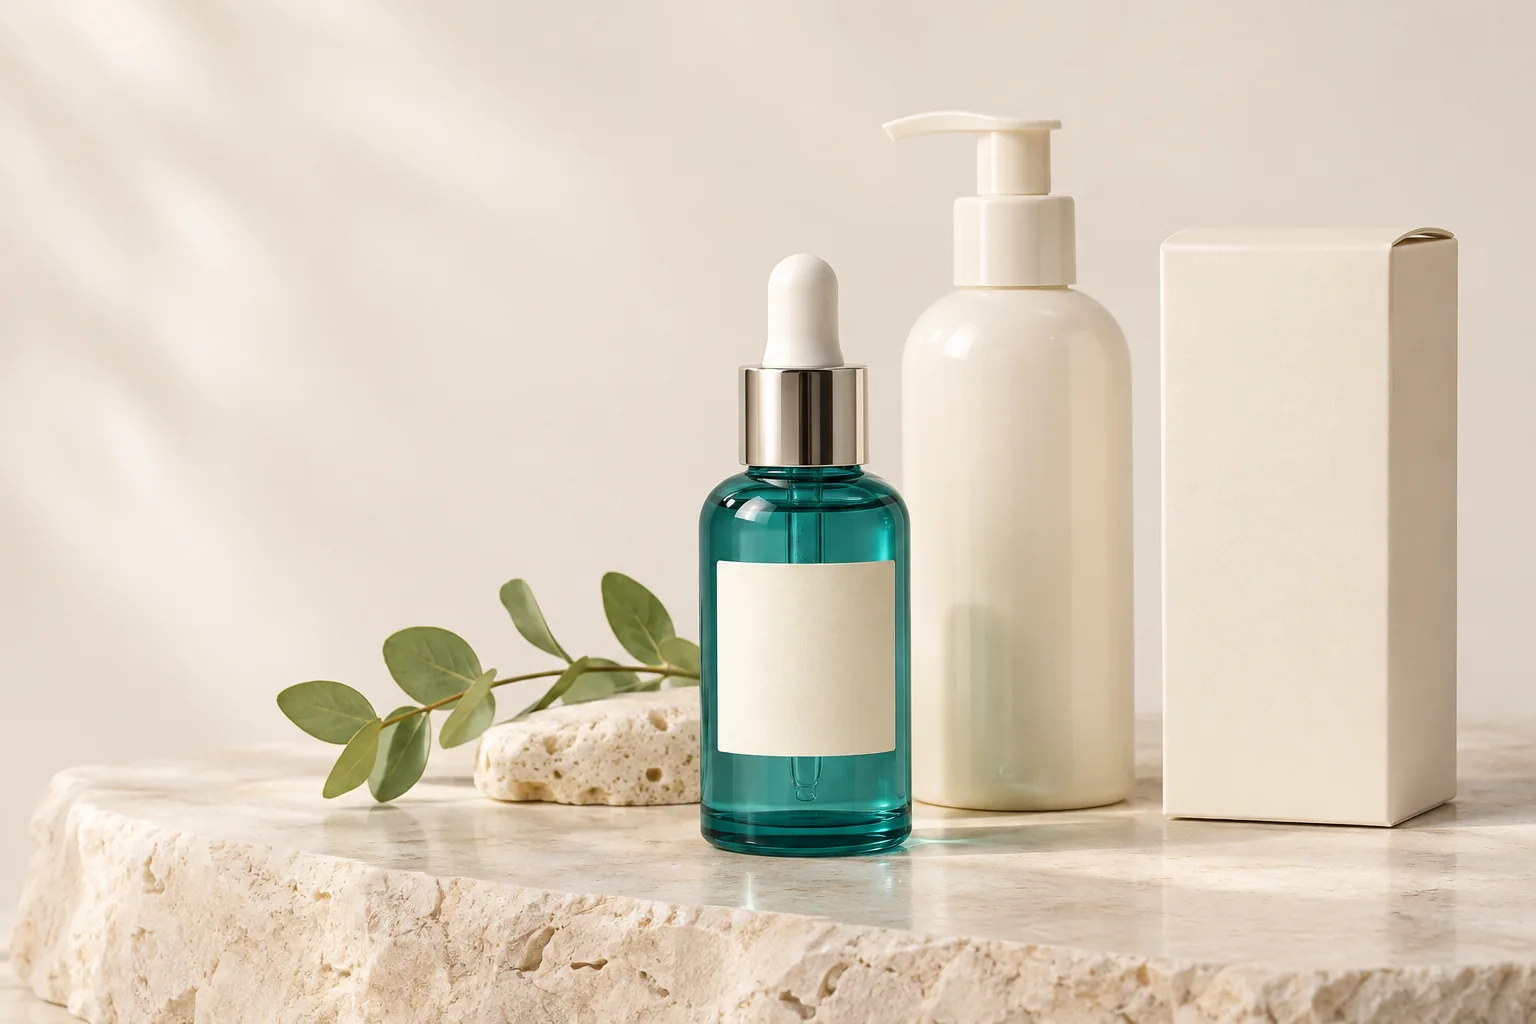
Skincare product photography: labels, colour and light
Photograph skincare packaging with clearer labels, controlled reflections and consistent colour. Check the details before publishing AI-edited images.