
Image sizing & delivery
Resize product photos without cropping the product
Resize product photos while keeping handles, lids and edges in frame. Understand pixels, aspect ratios, file formats and BestImage upload limits.
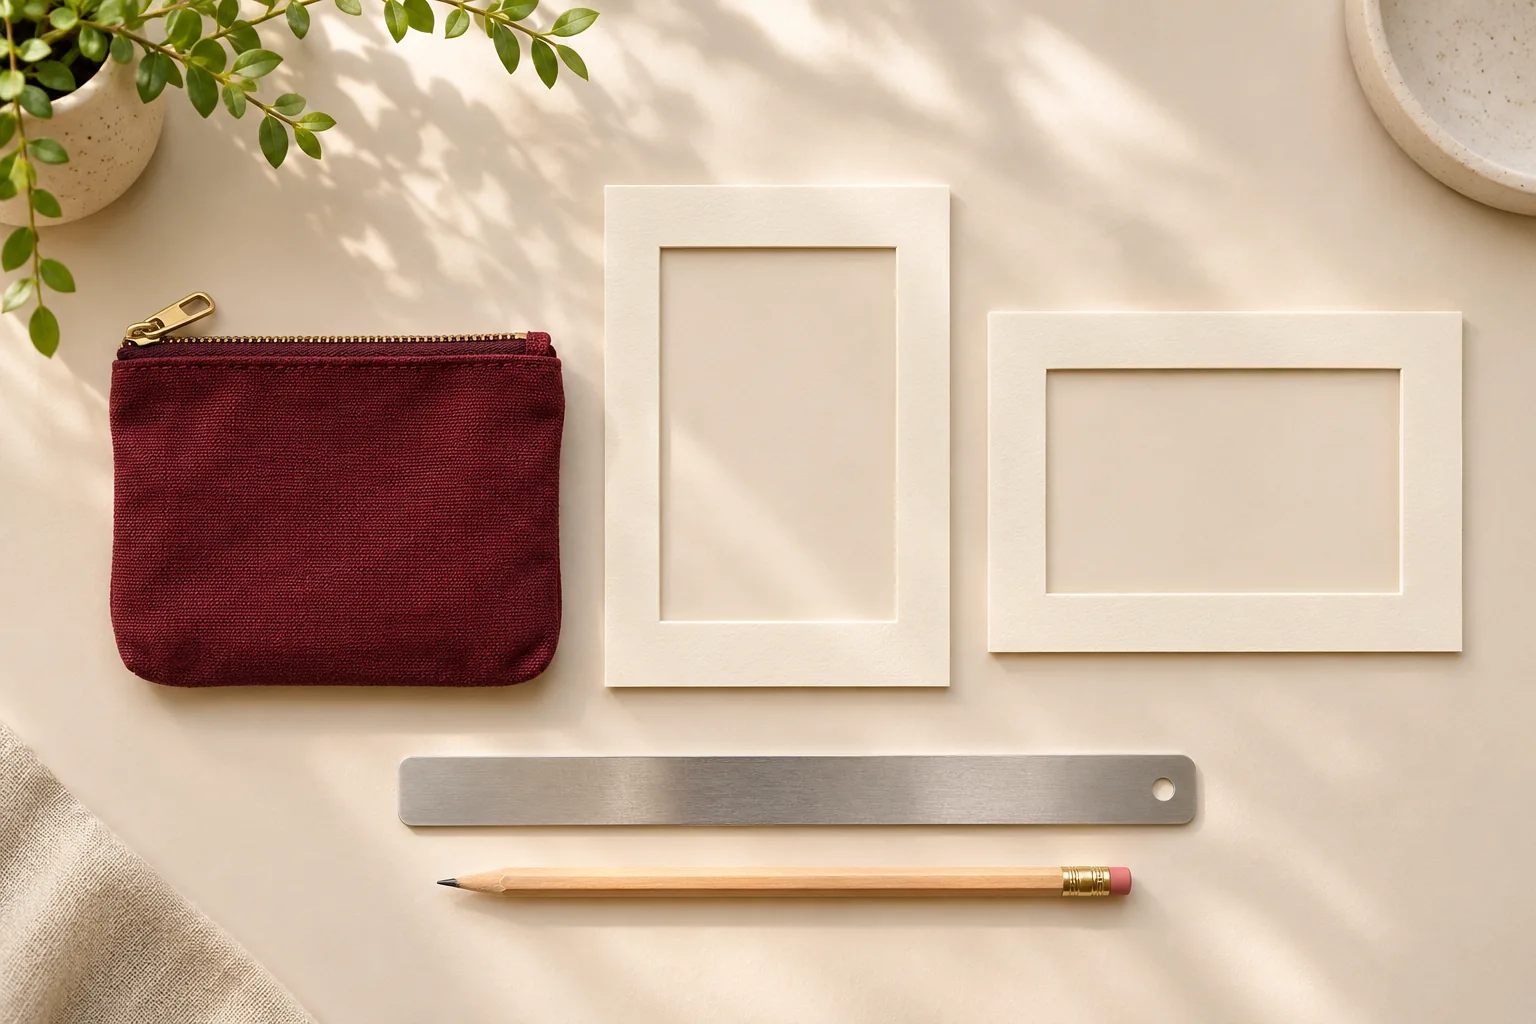
A product photo can have the right file size and still be wrong for its space. A square product card may cut off a handle from a wider photograph. A tall campaign slot may hide the sides. The first decision is whether you want to reduce the picture, crop it or add space around it.
Those actions do different things. Resizing changes the number of pixels. Cropping removes part of the picture. Adding canvas keeps the picture and places it inside a larger frame. Choose the operation that suits the product rather than stretching the image to fit.
Keep the aspect ratio when resizing
The aspect ratio is the relationship between width and height. A 1600 by 1200 image is 4:3. Reducing it to 1200 by 900 keeps that shape. Forcing it directly into 1200 by 1200 stretches the product unless the editing tool crops or adds canvas instead.
If you need a square image with the complete product visible, place the 1200 by 900 picture on a 1200 by 1200 canvas. The extra space becomes a margin. Choose a background that suits the image and check the edges carefully, especially if the original background is not perfectly uniform.
Choose a crop that leaves useful breathing room
Preview the destination shape before exporting. A bag may need space above its handles and beside a long strap. A skincare bottle may need its pump fully visible. Move the crop if it cuts an important part; do not assume the centre of every photograph is the best centre for a product card.
Leave enough space for the layout to work at smaller sizes. Some storefront themes apply another crop when they make thumbnails. Inspect the actual product page and mobile grid after upload, not just the exported file on your computer.
Understand pixels, file size and upload limits
Pixel dimensions and file size are separate checks. A highly compressed picture can have a small file size but very large dimensions. A detailed image can also be large in bytes without having unusual dimensions.
BestImage currently accepts JPEG, PNG and WebP up to the displayed 10 MB and 16 megapixel limits per image, subject to any lower hosting limit. Both checks apply. For example, 5000 by 4000 pixels is 20 megapixels, so being under 10 MB would not make that image eligible.
Keep the full original safely, export a supported smaller copy and open it before uploading. Confirm that the lettering and edges still look useful. See our phone photography guide if the reference itself needs improving.
Pick a format for the job
JPEG is a common choice for photographic images on solid backgrounds. PNG can preserve transparency, although photographic PNG files may be large. WebP can provide compact photographic images and support transparency where the destination accepts it.
Check your store’s current format and dimension requirements before delivery. Keep a supported alternative if a destination does not accept your preferred format. A smaller file is useful only if the visible product details remain clear.
- Keep the complete product inside the intended frame.
- Preserve the aspect ratio when reducing dimensions.
- Inspect lettering, edges and fine textures after compression.
- Check both bytes and megapixels before uploading.
- Preview the real storefront crop on a phone and computer.
Prepare versions without losing the master
Use clear names for square, portrait and wider exports so they are not confused later. Keep the approved master and its original reference alongside the delivery versions. Enlarging a soft image does not recover detail that was never captured.
In BestImage Studio, review the selected result before opening delivery options. Our storefront delivery guide covers the final checks. Preparing a download does not by itself publish it to your store.
PRACTICAL WORKFLOW NOTE · 12 NOVEMBER 2026
A 36 MB phone photo: prepare a smaller reference
A file can exceed the upload limit in bytes, pixel count, or both. Renaming its extension does not reduce either. The current server upload ceiling is 10 MB; the image must also be no larger than 16 megapixels.
- Keep the original on your device. Choose the photo in Studio.
- If the smaller-copy preview is offered for that supported image, inspect the complete item, label and fine edges before accepting it.
- If the browser cannot prepare it, save a resized JPEG, PNG or WebP locally. A 3000 × 4000 image is 12 megapixels, but still check its file size.
- Upload once and follow the progress message. Preparing or uploading the reference does not spend generation credits.
- For delivery, choose an appropriate ratio. Fitting a square into 1080 × 1350 adds padding; it does not create a new portrait composition or invent missing detail.
Do not repeatedly compress the same copy. Keep a clean original and check small text after every size change.
Continue reading
All Insights ↗
Leather goods & Studio workflow
AI handbag photography: a practical Studio workflow
Follow a documented BestImage handbag workflow, from an AI-created reference to a daylight scene, with saved settings and practical review checks.
Beauty & packaging
Skincare product photography: labels, colour and light
Photograph skincare packaging with clearer labels, controlled reflections and consistent colour. Check the details before publishing AI-edited images.