
Materials & lighting
How to photograph shiny and transparent products
Control glare, show clear edges and check reflections when photographing shiny or transparent products for AI editing and online listings.
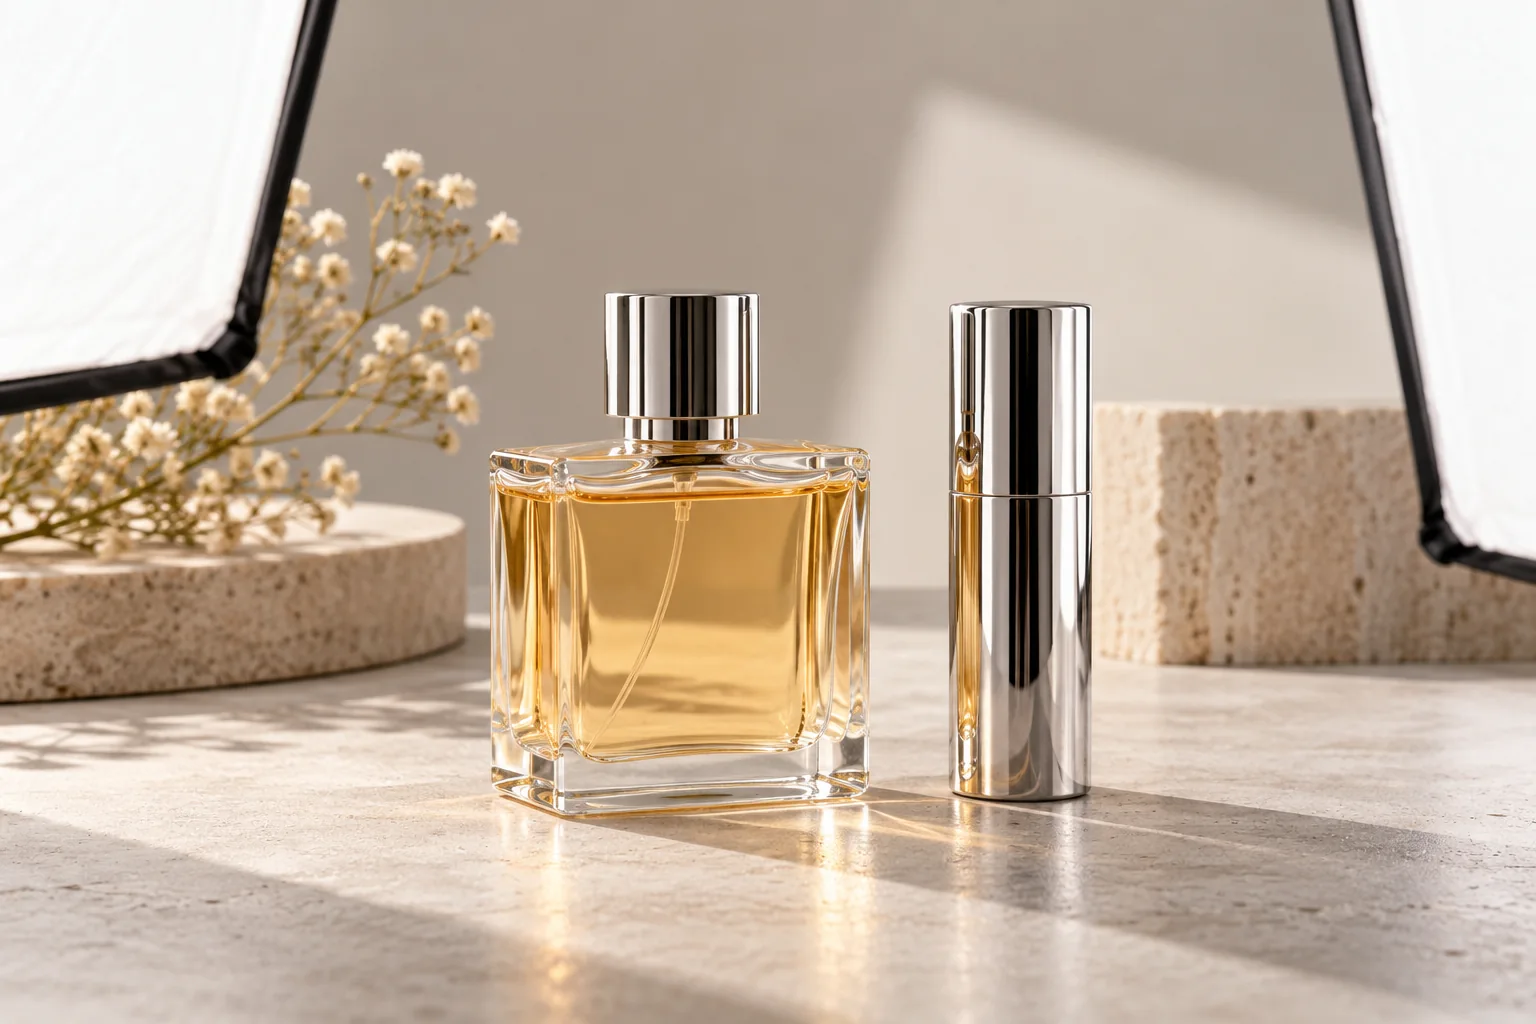
A shiny bottle or a clear glass can be surprisingly difficult to photograph. Move the camera a little and the label disappears behind glare. Change the background and the whole product seems to change colour. These materials reflect or transmit their surroundings, so a calmer setup is usually a better starting point than more editing.
You do not need to remove every highlight. You need enough information to understand the product’s shape, finish and important details.
Tidy what the product can reflect
Look at the product before looking through the camera. Can you see a bright lamp, a window frame, your phone or a coloured wall reflected in it? Remove distracting objects and simplify the area around the setup. A neutral surface or a large piece of card can make the reflection easier to control.
Try broad, soft light and make small changes to the product or camera angle. Check the label after each change. A reflection may help describe a curved edge, but it should not hide the brand name or make the surface look damaged.
Give transparent edges something to show
A completely clear object against a very bright background can lose its outline. Try a gentle difference in tone between the object and its surroundings. Watch the rim, base, handle and any thin edges. The aim is a readable silhouette with believable transparency, not a thick artificial outline.
What you see through the product is part of the photograph. If the original background is visible through a glass bottle, replacing the area around it does not necessarily remove that background from inside the glass. Photograph a clean reference and inspect transmitted areas carefully after editing.
Keep a separate clear view of any important label or component if one image cannot show everything well. Do not brighten the picture so aggressively that pale details disappear.
Choose editing expectations carefully
AI scene generation can produce an attractive environment while changing a reflection, label or transparent surface. Background removal can also misread a thin rim or a translucent section. A preserved product layer helps retain visible source information, but it does not recreate every optical interaction with a new scene.
In BestImage, choose the treatment that suits your reference, then compare the result at full size. An existing transparent cutout needs a genuinely useful transparency layer; simply saving a photograph as PNG does not remove its background. If an important part of the product disappears in isolation, keep it in review and correct the reference before continuing.
Use a short material-review checklist
- Can you still see thin rims, handles and narrow edges?
- Are labels readable and unchanged?
- Does the material look clear, tinted, glossy or metallic as it should?
- Are there remnants of the original background inside transparent areas?
- Do reflections and shadows belong plausibly to the scene?
Should you remove every reflection? No. Controlled reflections can make the shape readable. Remove or reposition distracting glare while keeping the material believable. If the product remains difficult to represent accurately, a professional product photographer may be the right next step.
See our advice on clear reference photographs and consistent lighting. The Studio guide explains how to compare an edited result with your original.
Continue reading
All Insights ↗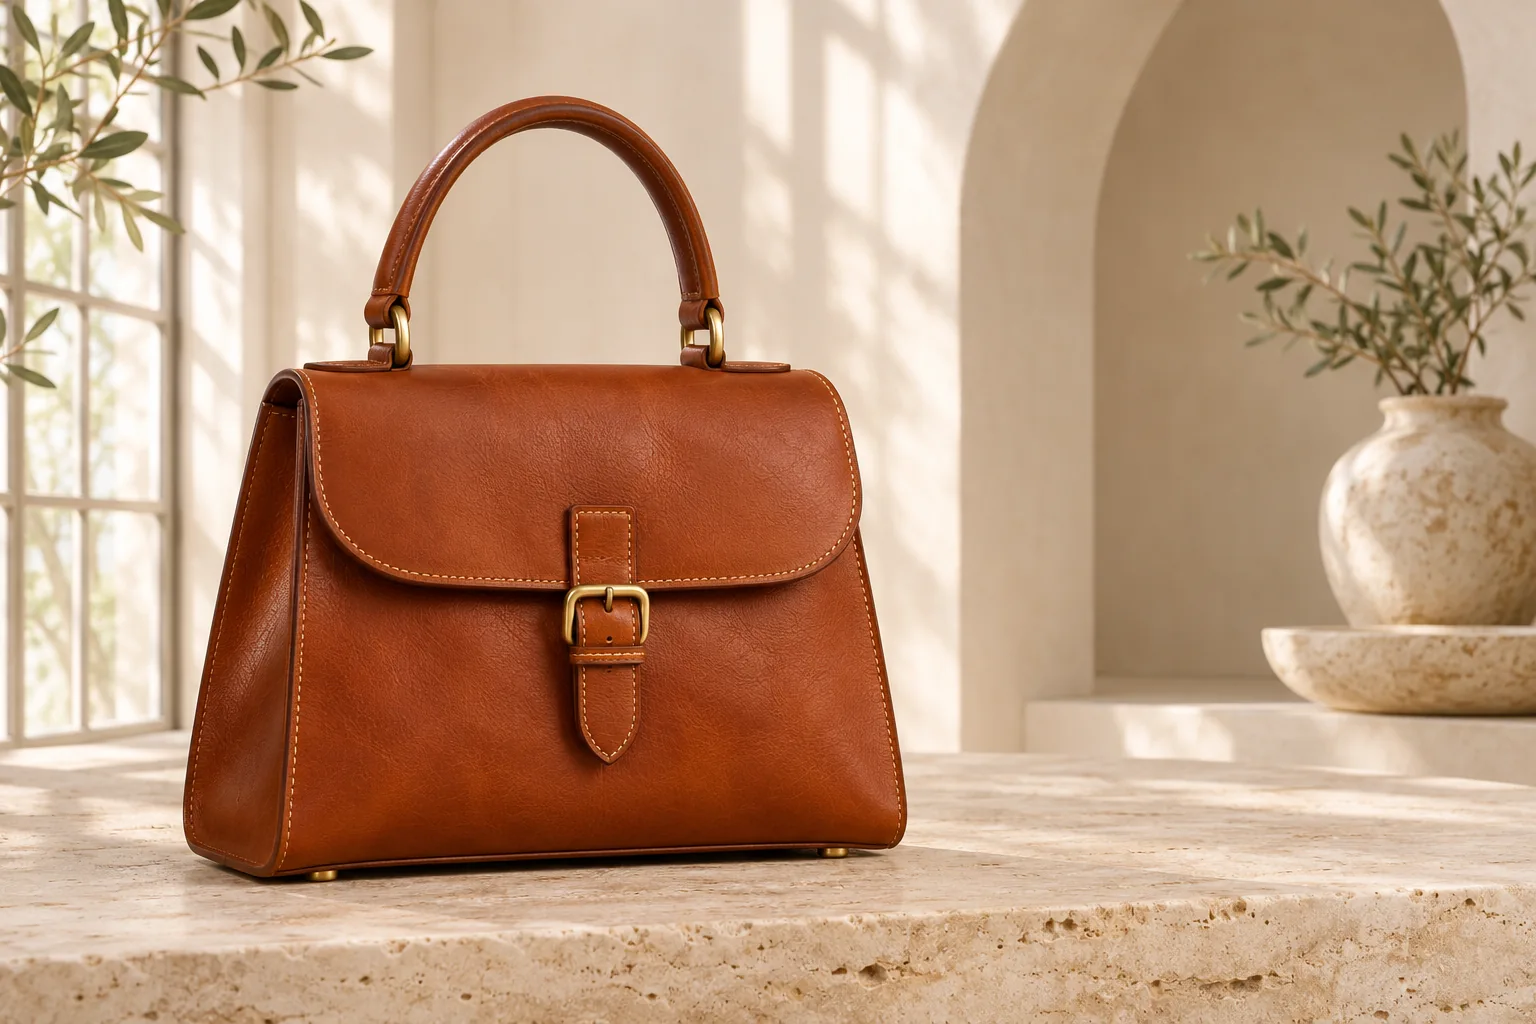
Leather goods & Studio workflow
AI handbag photography: a practical Studio workflow
Follow a documented BestImage handbag workflow, from an AI-created reference to a daylight scene, with saved settings and practical review checks.
Beauty & packaging
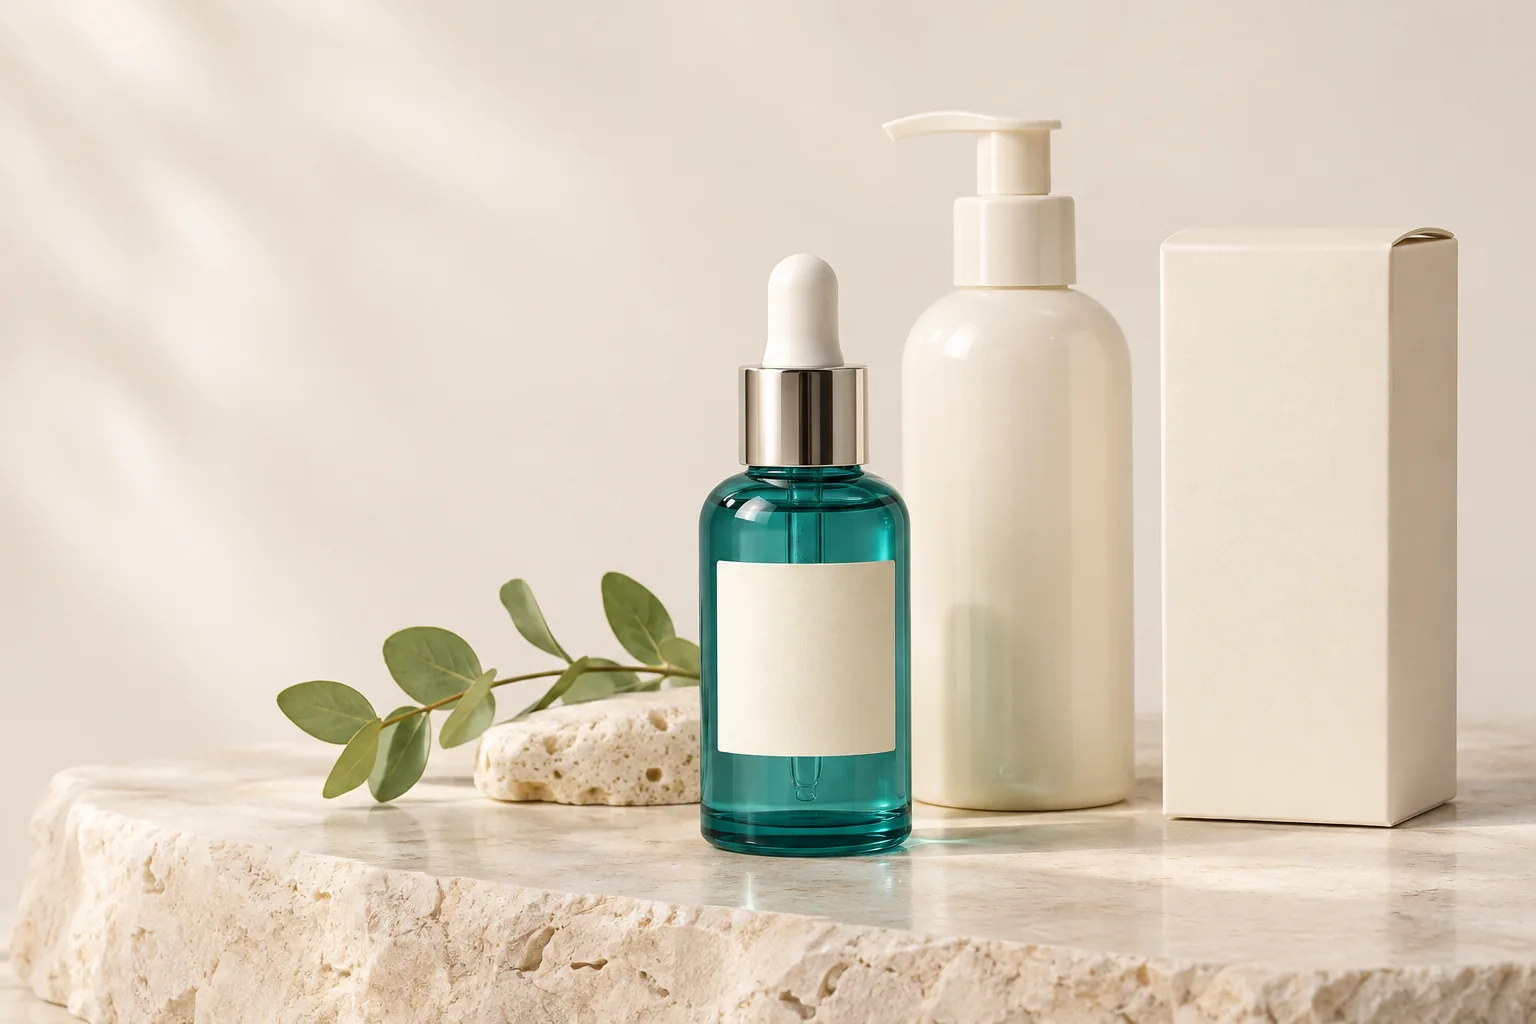
Skincare product photography: labels, colour and light
Photograph skincare packaging with clearer labels, controlled reflections and consistent colour. Check the details before publishing AI-edited images.