
Handmade & homeware
How to photograph handmade ceramics for your store
Show handmade ceramics clearly with practical advice on light, glaze, rims and scale. Build shop photos that preserve the character of each piece.
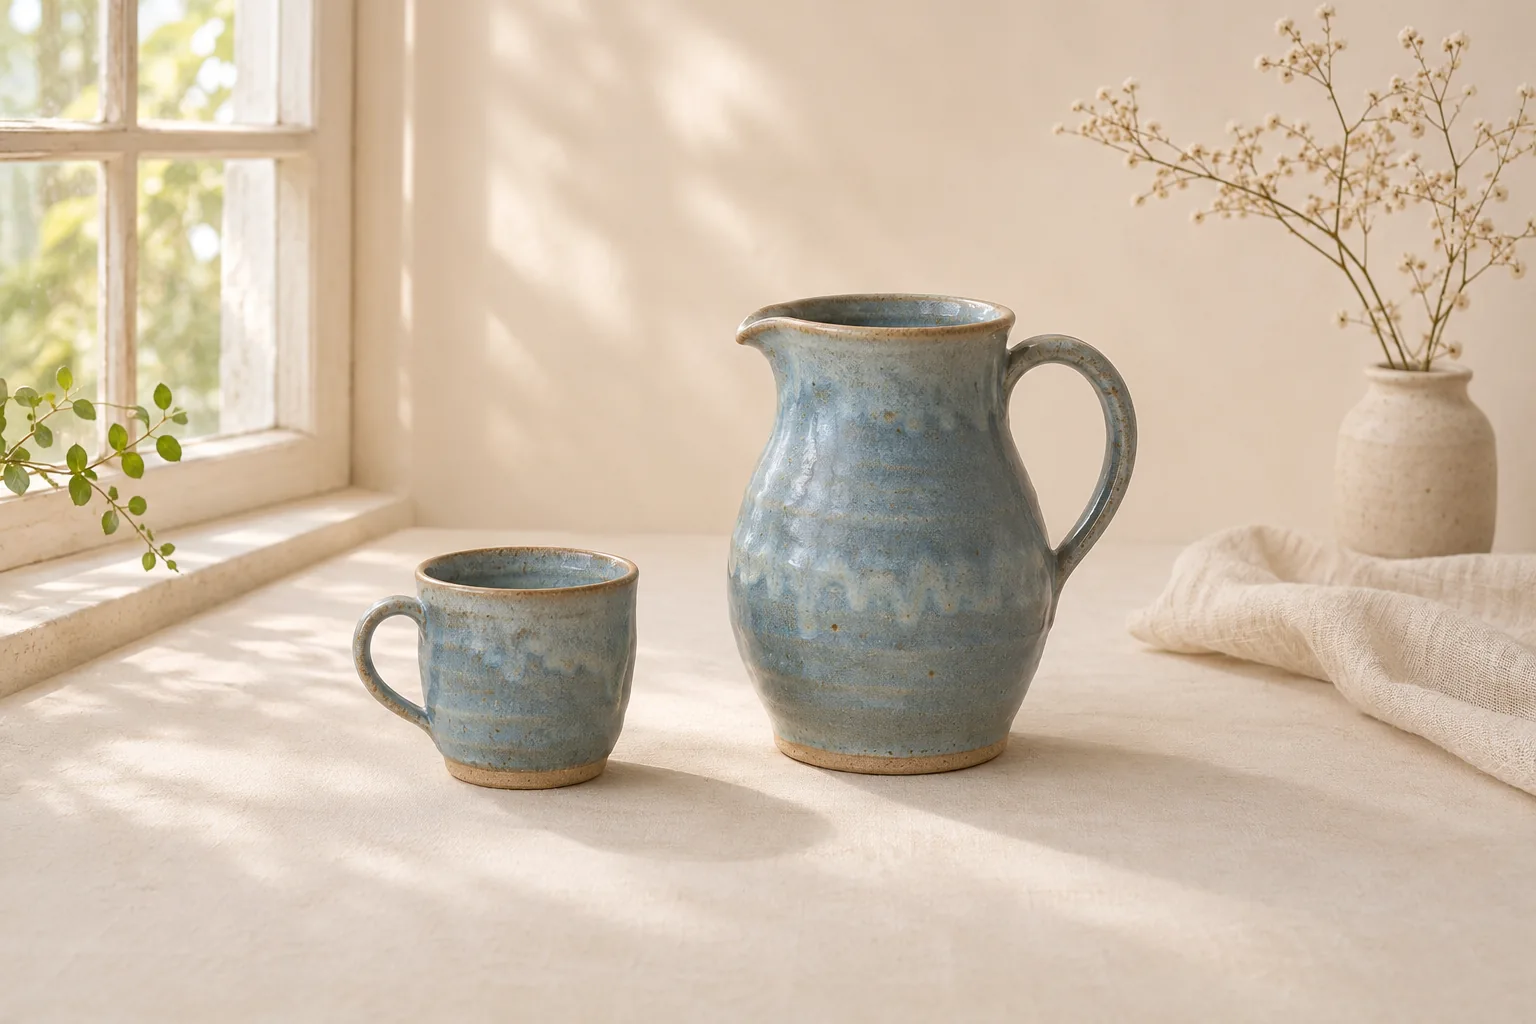
Handmade ceramics often sell through the details that make one piece different from another. An uneven glaze edge, a speckled surface or a slightly irregular rim may be part of its character. Your photographs should help a buyer see those qualities clearly.
Before setting up the camera, decide whether the listing represents one unique piece or an example from a small production run. That decision affects which photographs you need and how you describe variations.
Use light that reveals the glaze
Place the piece near soft window light and start with a plain background. Turn it slowly while watching the brightest reflection. On glossy glaze, a strong reflection can hide colour and surface detail. On matte clay, very flat light can make the form harder to read.
Try a slight change in the object’s angle before changing the entire setup. Keep the light soft enough to inspect the rim and handle, but let a gentle shadow describe the curve. Avoid mixing daylight and a warm room lamp if they make the glaze look like two different colours.
Show the rim, handle and base
An overall photograph is a starting point. Add a view looking slightly into a cup or bowl, a side view that describes its depth, and a close-up of the surface. Photograph the base where a maker’s mark, unglazed foot or finish matters.
Keep the whole handle visible and leave space around its edges. A handle that blends into a patterned background can be difficult to judge. If a set contains two pieces, show them together and individually so their shapes are not hidden behind each other.
- Overall view of the actual piece or clearly identified example.
- Rim and interior view.
- Handle or spout detail where relevant.
- Glaze and surface close-up.
- Base, maker’s mark and genuine size information.
Explain size without relying on props
A mug beside a jug gives some context, but the jug’s size may be unknown too. Provide measured dimensions in the listing and use a genuine scale photograph when it helps. If you state capacity or weight, measure it rather than estimating it from the picture.
Keep supporting objects separate from the product. A linen cloth or a small branch can suggest a mood without concealing the base. Do not place a large prop so close that it changes the apparent size of the ceramic piece.
Choose where an AI scene is useful
A lifestyle setting can help a customer imagine a vase on a shelf or a cup on a breakfast table. It is less suitable as the only evidence of a unique glaze pattern. Keep genuine detail photographs for any feature that makes the specific item distinctive.
When reviewing an AI result, compare the rim shape, handle opening, foot and spout. Check whether speckles or glaze runs have moved. A smoother surface is not automatically an improvement if the actual piece has visible texture.
For a one-off piece, even a subtle redraw can misrepresent what will arrive. If the scene changes the defining detail, use the original photograph for that purpose. Our AI review guide gives a practical comparison routine.
Build a repeatable small-studio setup
Mark a useful camera position and record the background and light direction. Photograph new pieces at a similar height and distance, while leaving enough margin for wider handles or taller forms. Recheck the light whenever the weather changes.
Keep filenames tied to the right piece, especially when several similar items are photographed in one session. Then read our product photo shot list and bring a checked reference into Studio for a supporting scene.
Continue reading
All Insights ↗
Image sizing & delivery
Resize product photos without cropping the product
Resize product photos while keeping handles, lids and edges in frame. Understand pixels, aspect ratios, file formats and BestImage upload limits.
Campaign planning
Seasonal product photography with a consistent style
Plan seasonal product photos with consistent colours, framing and lighting. Refresh your storefront while checking each image against the product.