
Leather goods & Studio workflow
AI handbag photography: a practical Studio workflow
Follow a documented BestImage handbag workflow, from an AI-created reference to a daylight scene, with saved settings and practical review checks.
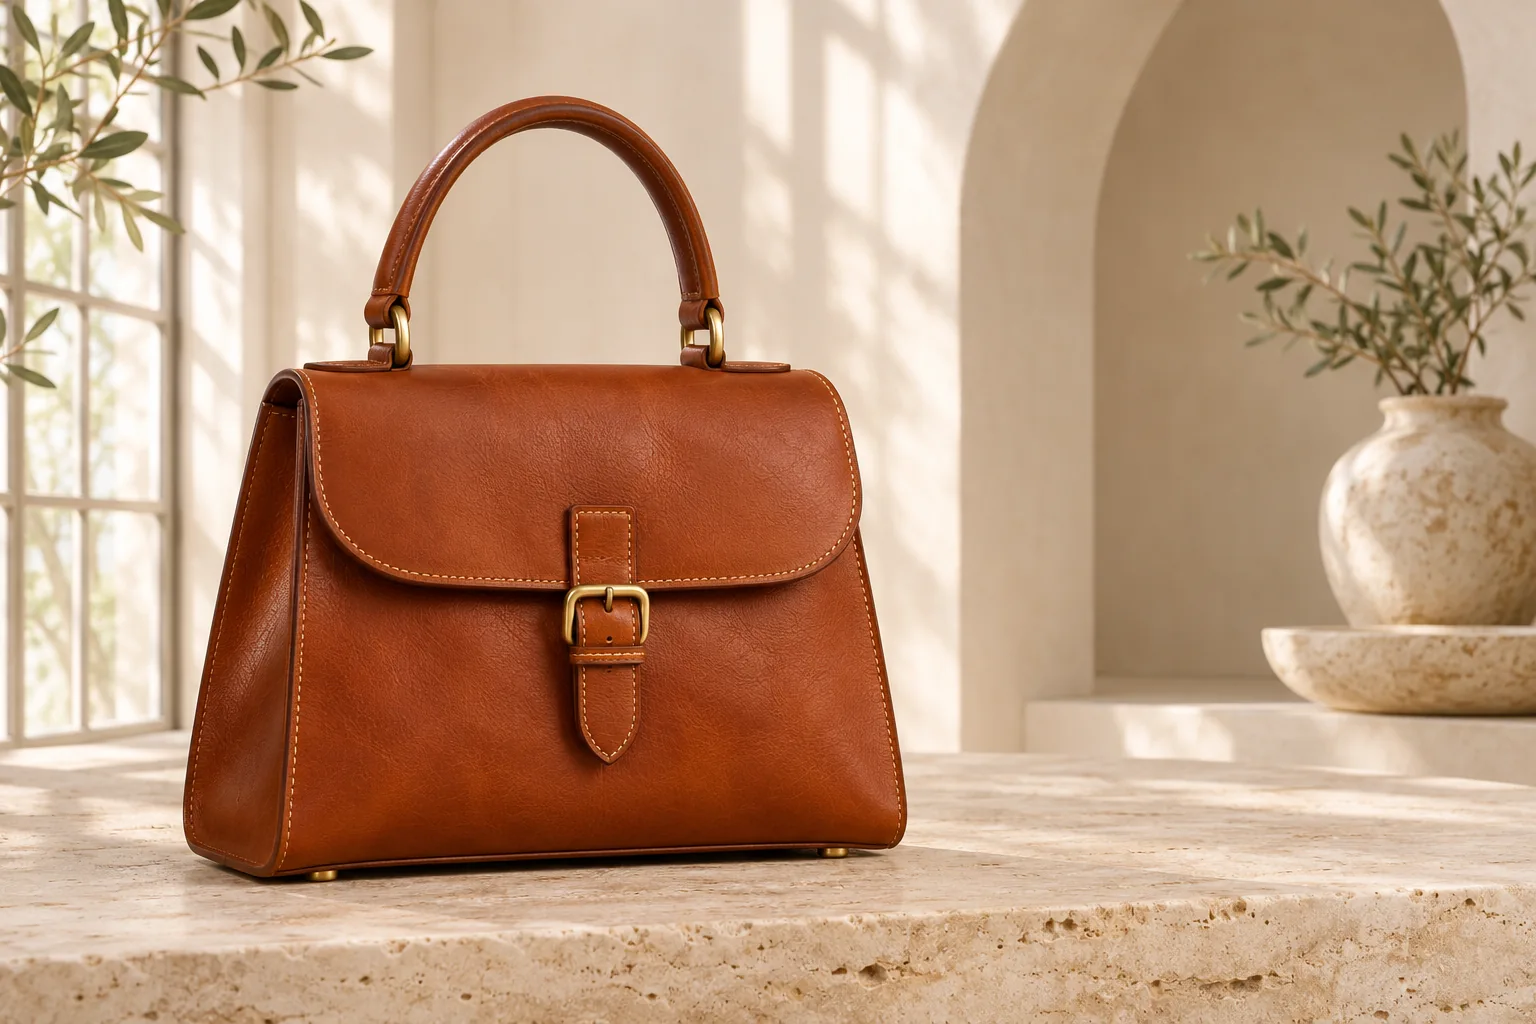
A handbag can look clear on white and still need a more inviting image for a storefront banner or collection page. The useful question is what the new setting adds. It should help a shopper notice the leather, shape and finish, while leaving enough room to judge the bag itself.
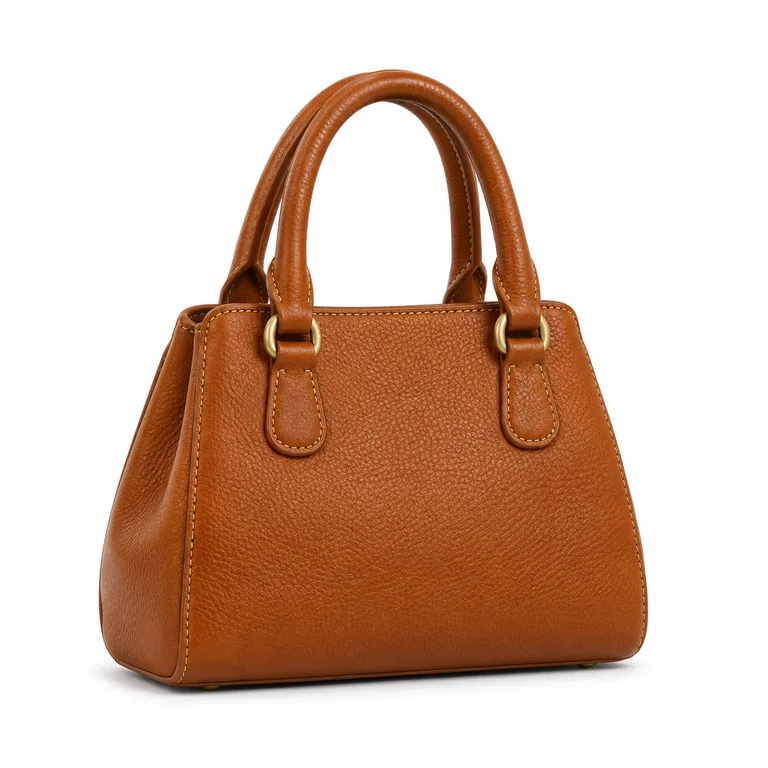
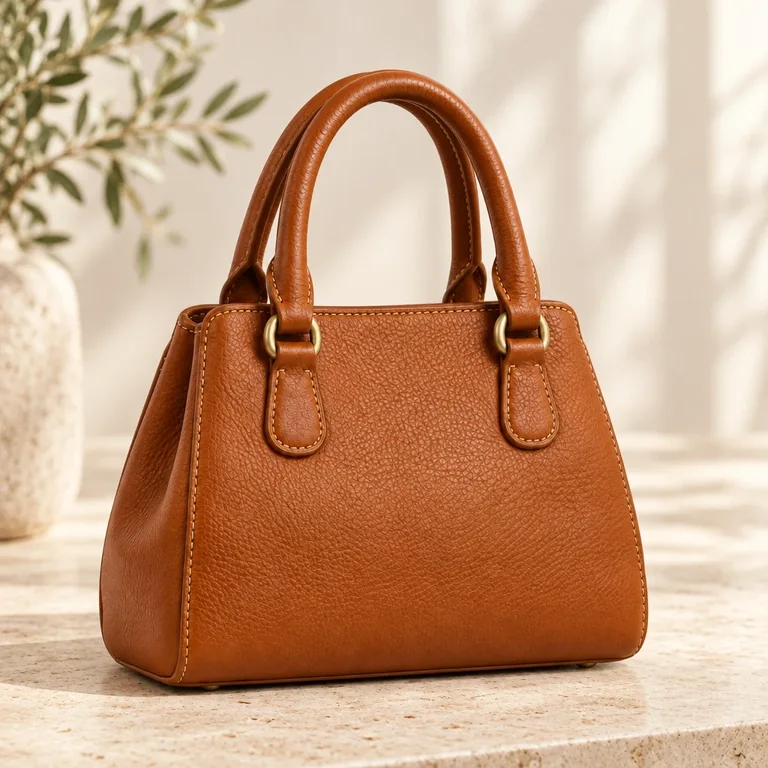
This guide follows a documented BestImage example. The reference object was created with AI, so it is not a photograph of a physical bag or customer work. The two images below are the reference uploaded into Studio and the actual daylight result generated through BestImage on 5 November 2026. The cover above is a separate editorial illustration.
Start with a reference you can inspect
For a real listing, photograph your actual handbag. Show the full handles, bottom corners and any visible strap attachments. Keep the camera steady and avoid a very wide-angle view that stretches the nearest corner. A soft reflection on the leather is useful; a bright patch that hides its grain is not.
Our demonstration starts with an unbranded cognac bag against white. Its visible stitching, handles and brass hardware give us specific details to compare later. One front view does not show the lining, pockets or back. Those need their own photographs if they matter to the purchase.
Choose a scene with a clear purpose
We wanted a warm, light image that would sit comfortably on a pale website. Natural light was a better direction for this brief than a dark, dramatic setting. Pale travertine gives the bag a surface to rest on, while the cream background keeps attention on the leather.
Before generating, decide where your picture will appear. A product card usually needs straightforward framing. A campaign image may need space for a headline. Check the intended crop before spending a credit, especially if handles or long straps sit near the edge.
Review the settings before generating
The saved setup used Natural light, a square 1:1 format and Creative edit. Lighting came from the upper right, with soft shadows, minimal styling and a subtle atmosphere. Saved Brand DNA was off. The creative notes requested ivory travertine, a cream wall, gentle window shadows and the same handbag size, position and camera angle as the reference.
This single-image demonstration used one generation credit. That records this workflow’s usage; it is not a claim about processing time, provider cost or the quality of every future result. In your own session, follow Upload, Scene, Adjust and Review settings before Generate.
Compare the parts that make the bag recognisable
Look at the handle tops and the baseline first. A change in framing can disguise a change in proportions. Then inspect the hardware, stitch paths and leather texture at a useful zoom. Ask whether the result still describes the item you will actually ship.
- Count visible rings, buckles and attachment points.
- Compare the width of the bag and the space inside each handle.
- Check whether stitching has moved, disappeared or become decorative.
- Compare colour against the real item under neutral light.
- Keep a clear reference photo in the listing alongside a reviewed lifestyle image.
The daylight result was visually inspected for this demonstration. Its main features remain recognisable, but creative generation can change fine details. For a real product, reject a misleading result rather than assuming a polished appearance makes it accurate.
Build a useful handbag image set
Pair the scene with genuine close-ups of the closure, lining, strap and included accessories. Show dimensions separately rather than expecting a background prop to prove size. Our product photo shot list helps plan those views.
Ready to try a similar direction? Open Studio with Natural light, then use the AI image review checklist before preparing the result for your store.
Continue reading
All Insights ↗
Image sizing & delivery
Resize product photos without cropping the product
Resize product photos while keeping handles, lids and edges in frame. Understand pixels, aspect ratios, file formats and BestImage upload limits.
Campaign planning
Seasonal product photography with a consistent style
Plan seasonal product photos with consistent colours, framing and lighting. Refresh your storefront while checking each image against the product.